Introduction: Can You Really Have Gluten-Free Sourdough That Tastes Good?
If you’ve ever thought, “Gluten-free bread is just a sad substitute for the real thing,” then this blog post is about to change your mind. What if we told you there’s a way to make Alternative Sourdough (Gluten-Free) that’s not only gluten-free but also packed with flavor, nutrition, and texture? Enter Alternative Sourdough (Gluten-Free)—a game-changer for anyone who loves baking or simply craves a hearty slice of bread without the gluten. Intrigued? Let’s dive in and discover how you can make this healthy, delicious Alternative Sourdough (Gluten-Free) at home.

Overview: Why This Recipe Stands Out
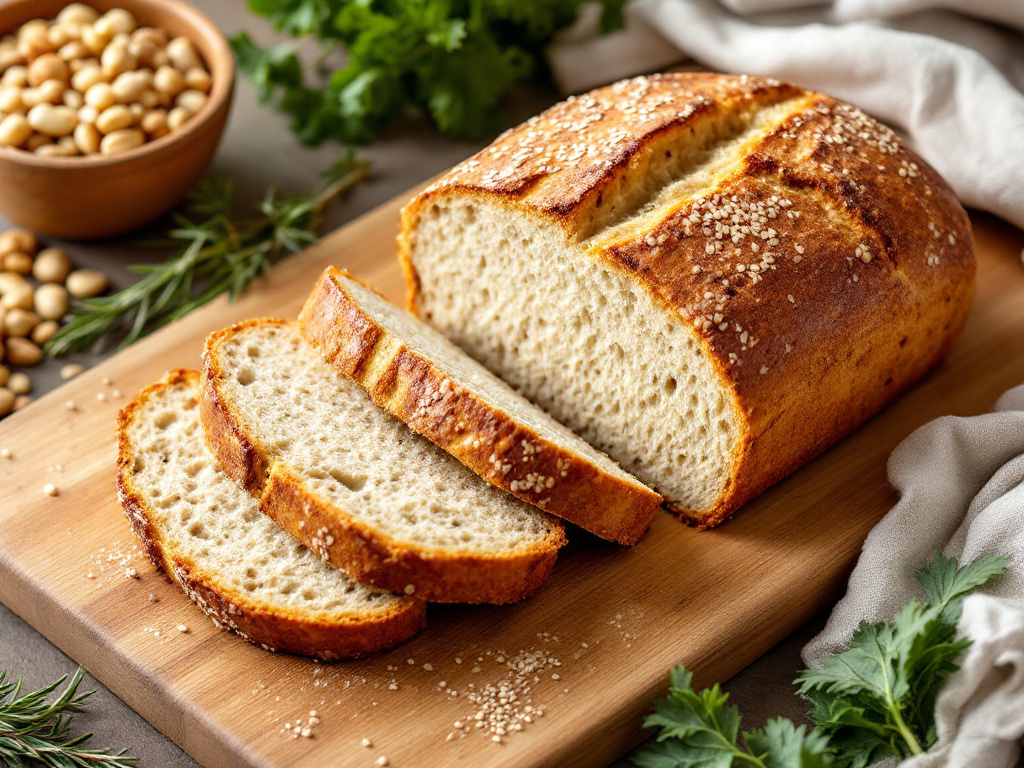
Alternative Sourdough (Gluten-Free) is special because it combines the tangy, chewy goodness of traditional sourdough with the health benefits of gluten-free flours. Unlike many gluten-free breads that are dense and dry, this recipe for Alternative Sourdough (Gluten-Free) uses smart techniques and wholesome ingredients to create a light, airy loaf that rivals its gluten-filled counterparts.
- Time Requirement: The process takes about 7–10 days from creating the starter to baking the final loaf. Don’t worry—it’s mostly hands-off time as the dough ferments.
- Difficulty Level: Beginner-friendly! If you’ve never made sourdough before, don’t sweat it. We’ll guide you step-by-step through the entire process.
Ready to bake some magic? Let’s get started!
Essential Ingredients: What You’ll Need and Why It Matters
The beauty of Alternative Sourdough (Gluten-Free) lies in its simplicity. Here’s what you’ll need for your Alternative Sourdough (Gluten-Free):
- Gluten-Free Flour Blend
- Use a mix of whole-grain gluten-free flours like brown rice flour, buckwheat flour, or quinoa flour. These provide fiber, protein, and a nutty flavor.
- Substitutions: You can swap in oat flour or sorghum flour for variety.
- Starchy Flours for Lightness
- Add tapioca starch or arrowroot starch to keep the bread soft and airy. These act as natural binders.
- Xanthan Gum (Optional)
- Xanthan gum helps mimic the elasticity of gluten. If your flour blend already contains it, skip this ingredient .
- Water
- Filtered water works best to avoid chlorine, which can interfere with fermentation.
- Eggs or Egg Replacer
- Eggs add structure and moisture. For a vegan option, use flax eggs (1 tablespoon ground flaxseed + 3 tablespoons water per egg).
- Sweetener
- A touch of honey, maple syrup, or sugar feeds the yeast during fermentation .
- Oil or Fat
- Olive oil, coconut oil, or avocado oil adds richness and keeps the bread moist.
- Salt
- Enhances flavor and regulates yeast activity.
With these ingredients, you’re ready to create a masterpiece!
Step-by-Step Instructions: Crafting Your Gluten-Free Sourdough Starter
Before you can bake the bread, you need a gluten-free sourdough starter. Think of it as the heart of your bread—it gives it life and flavor.
Day 1:
- Mix ½ cup of gluten-free flour (like brown rice or buckwheat) with ½ cup of filtered water in a clean jar. Stir well, cover loosely, and let it sit at room temperature.
Days 2–7:
- Each day, discard half of the mixture and “feed” it with equal parts flour and water (about ¼ cup each). By Day 5–7, you should see bubbles forming—a sign that fermentation has begun!
Tip: Be patient. Gluten-free starters take longer to develop than wheat-based ones, but they’re worth the wait.
Assembly: Building Your Loaf
Once your starter is bubbly and active, it’s time to assemble the bread.
- Mix the Dough:
- Combine 1 cup of active starter, 2 cups of gluten-free flour blend, 1 cup of water, 2 eggs (or flax eggs), 1 tablespoon sweetener, 2 tablespoons oil, and 1 teaspoon salt in a large bowl .
- Let It Rise:
- Cover the bowl and let the dough rise for 4–6 hours at room temperature. Gluten-free dough won’t double in size like wheat dough, but it will become bubbly and fragrant.
- Shape and Proof:
- Transfer the dough to a greased loaf pan. Smooth the top with wet hands. Let it proof for another 2–3 hours until slightly puffed.
- Bake:
- Preheat your oven to 375°F (190°C). Bake the loaf for 45–50 minutes until golden brown and hollow-sounding when tapped.
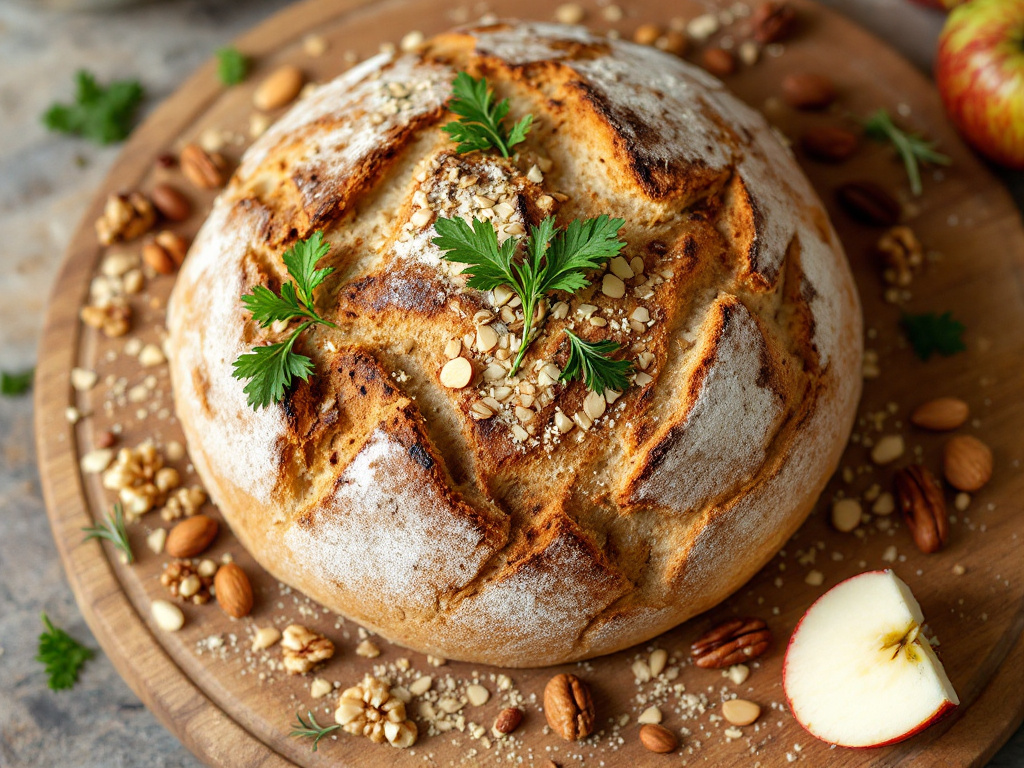
Pro Tip: Score the top of the loaf with a sharp knife before baking for a professional look.
Storage and Make-Ahead Tips
One of the perks of Alternative Sourdough (Gluten-Free) is its versatility. Here’s how to store and prep ahead:
- Room Temperature: Store the cooled loaf in an airtight container for up to 2 days.
- Refrigerator: Wrap tightly in plastic wrap or foil and refrigerate for up to 5 days.
- Freezer: Slice the loaf and freeze individual slices for up to 3 months. Toast straight from frozen for convenience.
Recipe Variations: Get Creative!
Want to switch things up? Try these fun twists:
- Herb-Infused Bread: Add dried rosemary, thyme, or garlic powder for savory flair.
- Seed Lover’s Delight: Sprinkle sunflower seeds, pumpkin seeds, or chia seeds into the dough.
- Sweet Treat: Drizzle honey or cinnamon sugar on top before baking for a dessert-like loaf.
Conclusion: Time to Bake Your Own Alternative Sourdough (Gluten-Free)
Congratulations—you now know how to make Alternative Sourdough (Gluten-Free) the healthy way! Whether you’re new to gluten-free baking or a seasoned pro, this recipe proves that delicious, nutritious bread is within reach. So grab your apron, gather your ingredients, and start experimenting. Who knows? This might just become your new favorite bread recipe.
Happy baking!
FAQs: Answers to Your Burning Questions
Q: How long does it take to make gluten-free sourdough?
A: From creating the starter to baking the loaf, the entire process takes about 7–10 days. Most of this time is hands-off fermentation .
Q: Is gluten-free sourdough healthier than regular bread?
A: Yes! Fermented breads are easier to digest and often contain more nutrients due to the breakdown of anti-nutrients during fermentation .
Q: Can I use a stand mixer for this recipe?
A: Absolutely! A stand mixer makes mixing and kneading easier, especially since gluten-free dough can be sticky.
Q: Why is my bread dense?
A: Gluten-free bread tends to be denser than wheat bread. To improve texture, ensure your starter is fully active and include starchy flours like tapioca or potato starch .
Q: Can I freeze the starter?
A: Yes! Store excess starter in the freezer for future use. Thaw and feed it before using again.
Now go forth and conquer the world of gluten-free baking—one loaf of Alternative Sourdough (Gluten-Free) at a time!

